

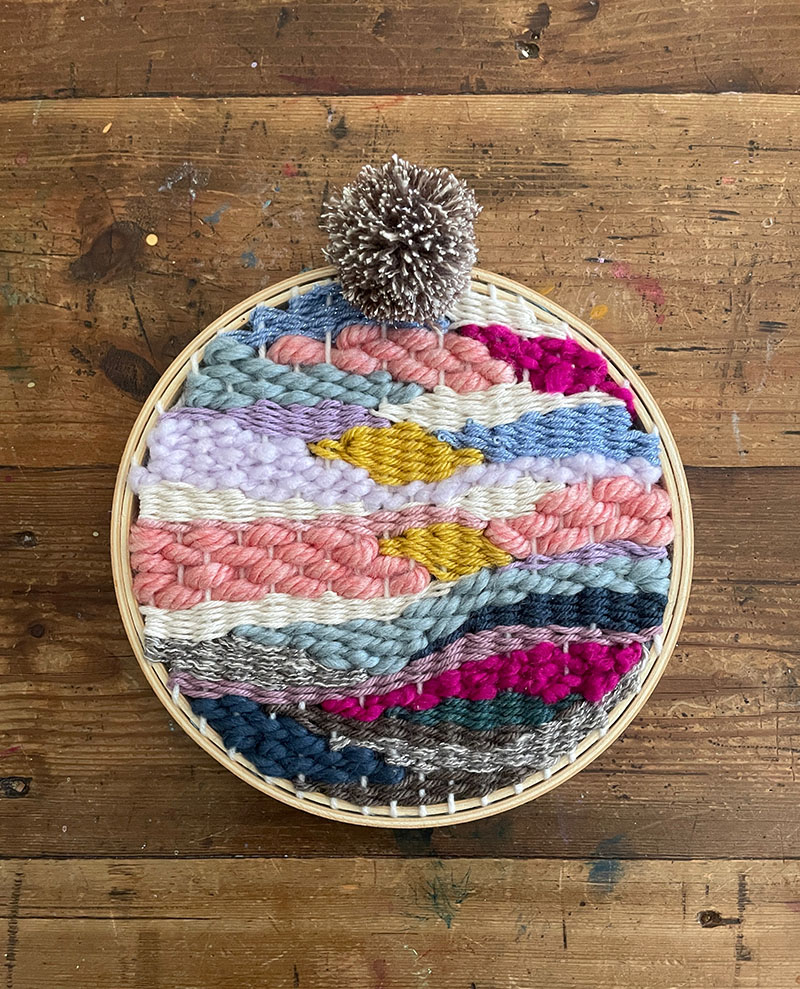
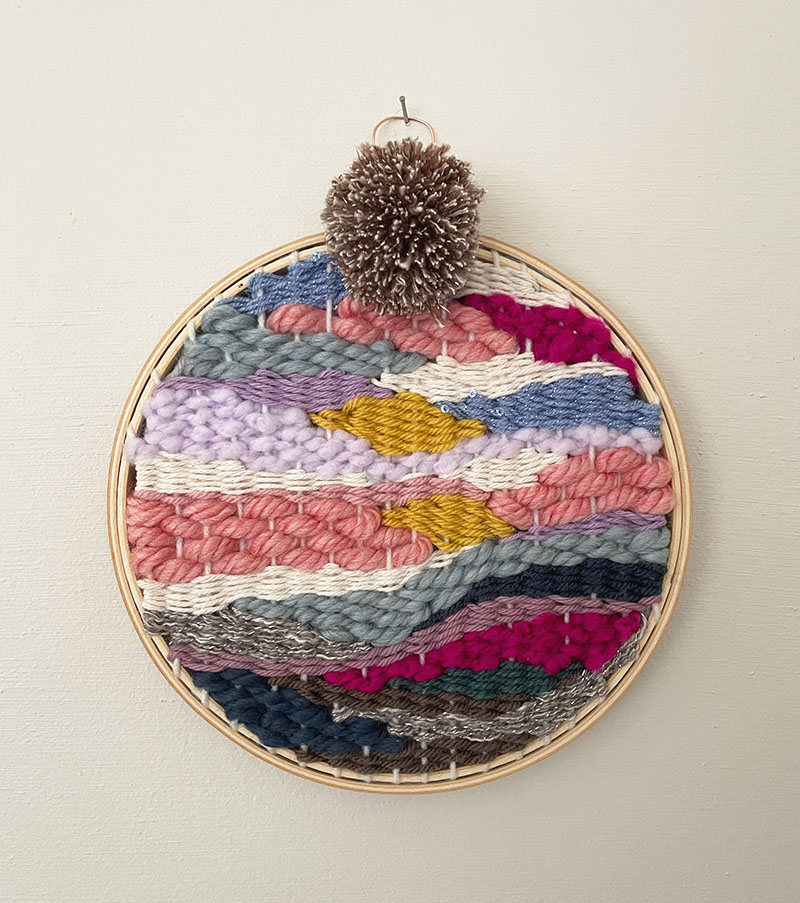
My head is frequently striving to in good shape in time to weave. I am these kinds of a newbie, and really do not actually have a fashion, but I love taking part in close to with color and condition. This time I tried out a round doodle weaving employing an embroidery hoop! I did not abide by anybody’s guidelines, I just designed it up as I went alongside. I am guaranteed there are improved ways to do this, but I just used tape, yarn, and a glue gun.
For additional in-depth guidelines, see my initially doodle weaving listed here. I employed the identical technique.
And if you want to see a small movie, click on below to observe my Instagram reel.
[ I am a participant in affiliate programs designed to provide a means for bloggers to earn small fees at no cost to you by linking to Amazon.com and affiliated sites. ]
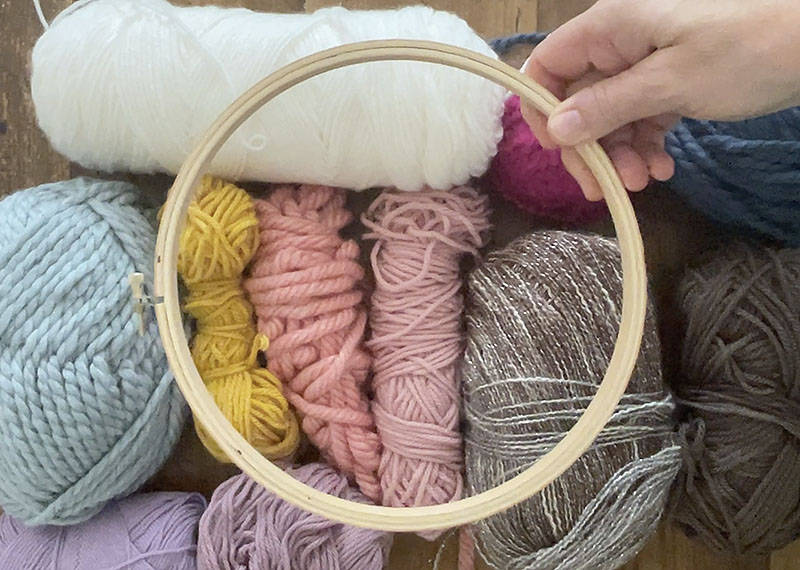
Supplies required for round doodle weaving:
~ Yarn in different colors and weights (you can go to a craft store or obtain online – affordable yarn is just wonderful)
~ Wooden embroidery hoop (I utilised an 8-inch hoop)
~ Masking tape
~ Pom-pom maker (optional)

How to make a round doodle weaving:
1. Established up the warp (these are the vertical threads). I did this by chopping a entire bunch of threads and then taping them to the side of the hoop. I did not measure, just eye-balled. I also loosely taped the hanging threads up to the facet which is why it seems like there is so substantially tape.
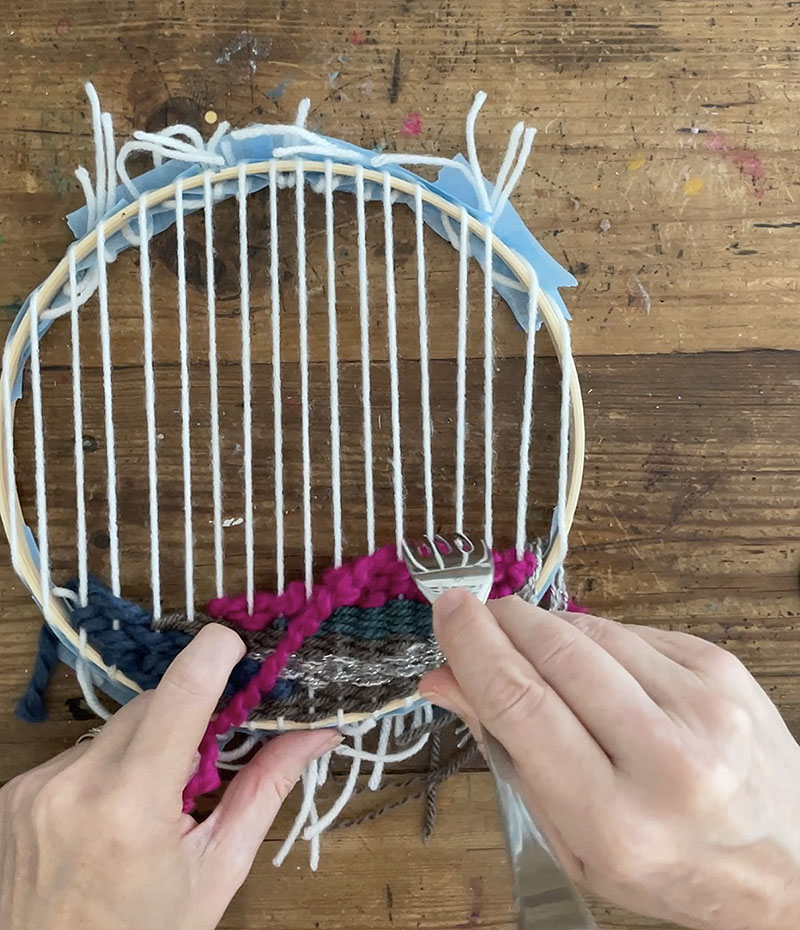
2. Commence weaving. Just about anything goes, in this article. Refer back again to my initial doodle weaving article for far more express instructions. Just commence and stop beneath. And use a fork to thrust down the weft (people are the horizontal threads).
3. I use a “shoelace” procedure when weaving whereby I wrap the finish of the yarn with a piece of tape so that it is easier to weave with. This is simply because I are not able to obtain my plastic weaving needles. But it is also since I cannot see very well adequate to thread the needle. This method works genuinely very well for me. It is fast and simple.
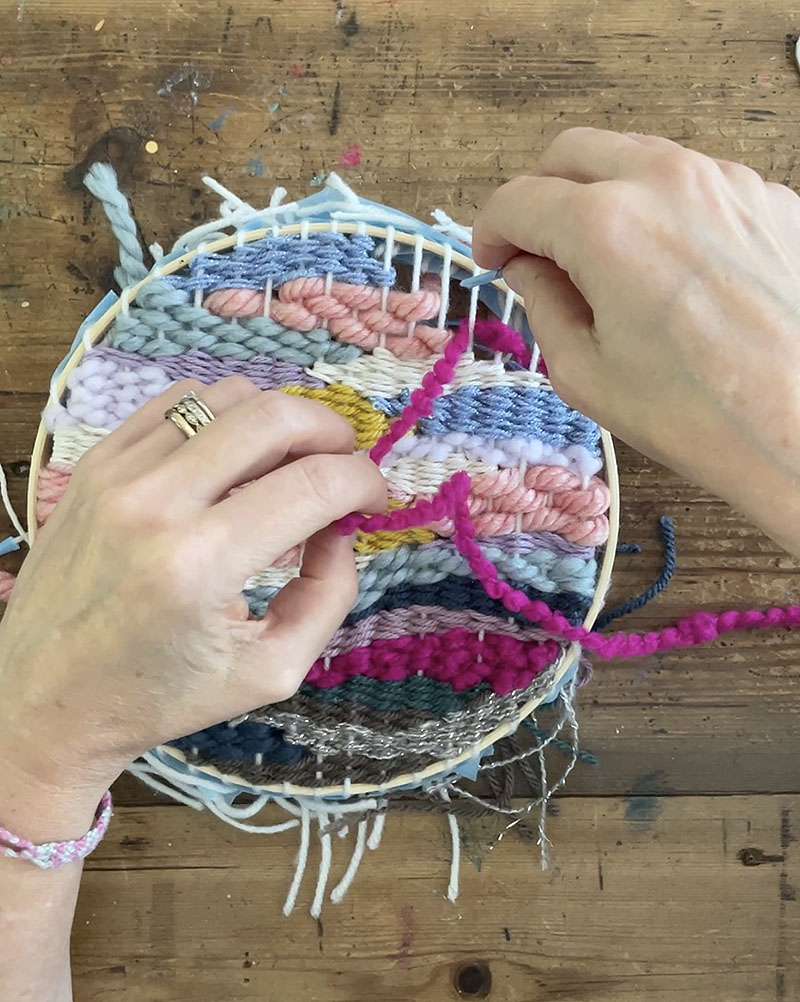
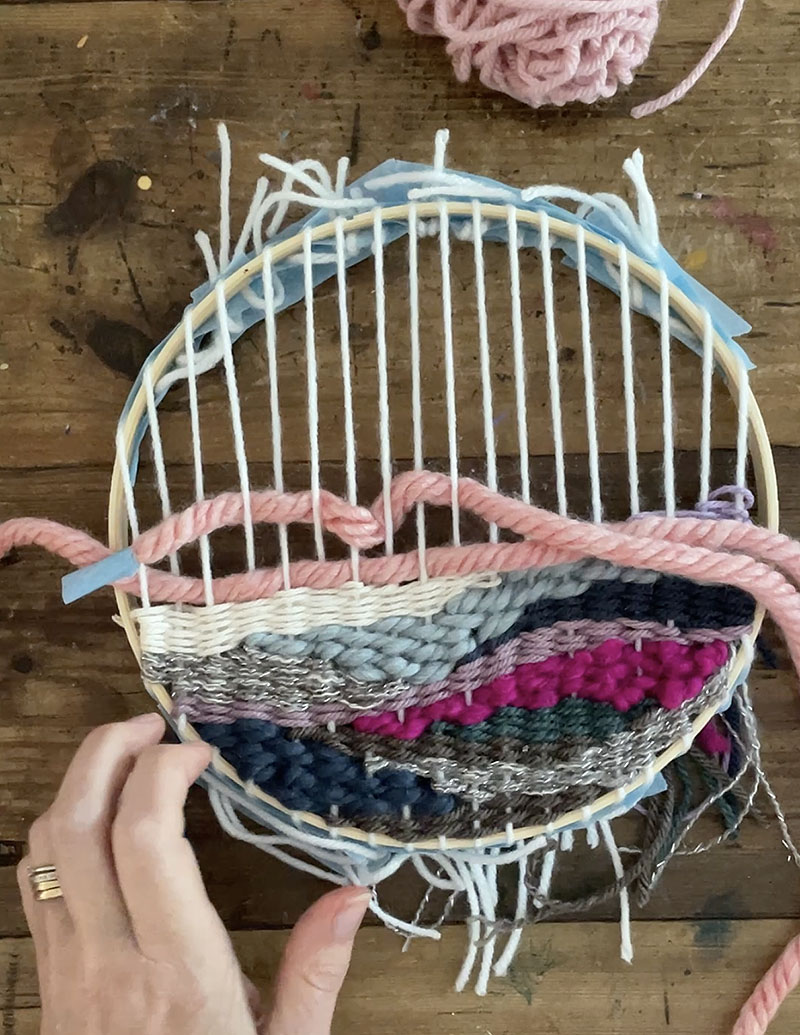
4. You don’t have to go from base to best when doodle weaving. You can start out everywhere and go about until finally it’s all crammed up. I sooner or later want to weave like I would draw, but for now I instinctively go base to best. You can also go back again in and fill areas if there are gaps. The fork truly helps to make it all restricted.
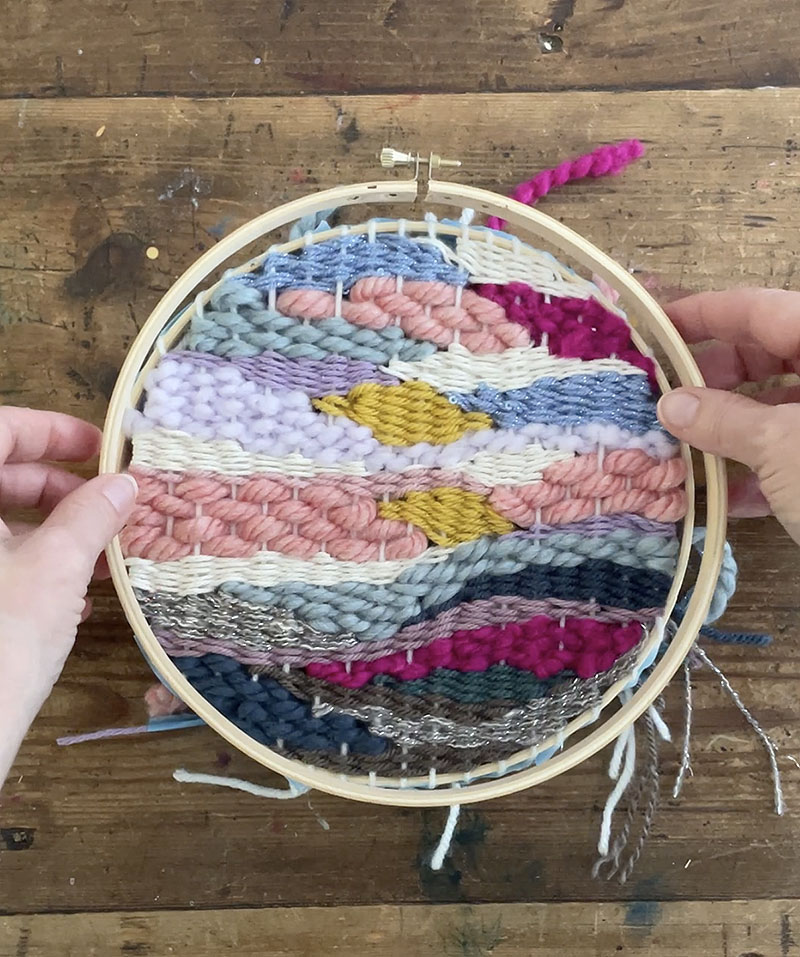
5. When finished, I pulled off the blue tape that I utilised to loosely hold the finishes, but I still left the tape that holds the warp. I designed sure you could not see it when inserting the outer hoop in excess of the interior hoop. Tighten the outer hoop as tight as you can.
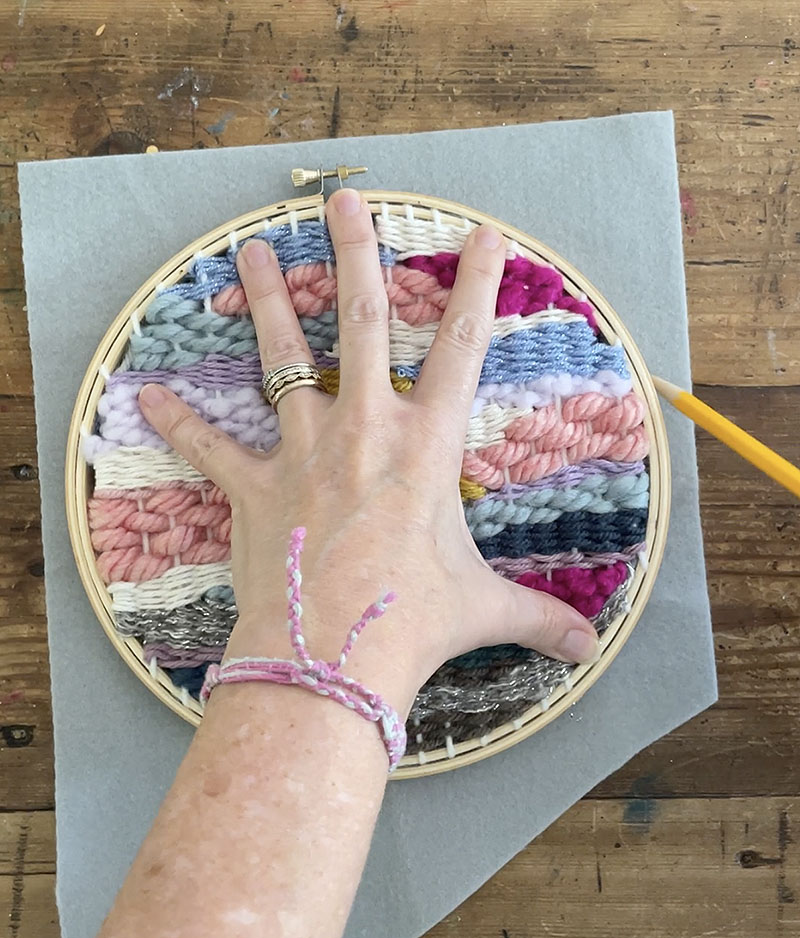
6. Trace the hoop on to a piece of felt with a pencil.

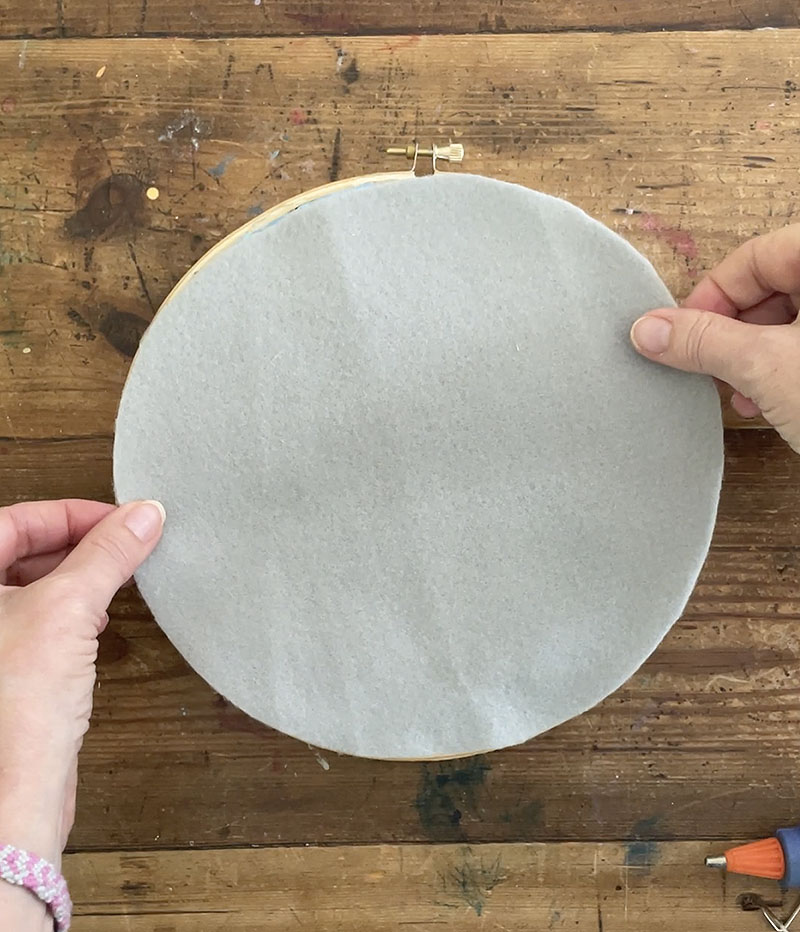
7. Incredibly hot glue the felt to the back again. This is a genuinely straightforward way to complete the weaving so you really don’t have to deal with all the finishes!
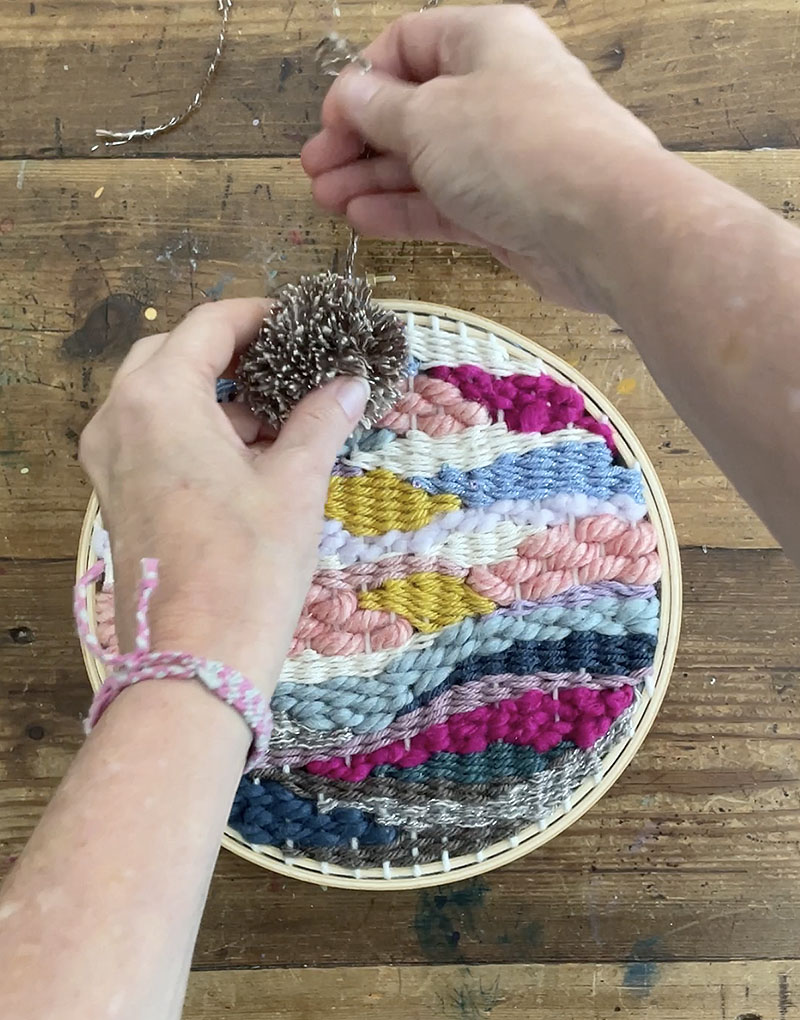
8. Make a pom-pom to address the very little knob on top of the hoop. Include a piece of wire to hang!
Voila! Really don’t ignore to enjoy the movie!
xo Bar
– – – – – – – – – – – – – – – – – – – –
Did you like this article? Below are more craft concepts utilizing yarn:
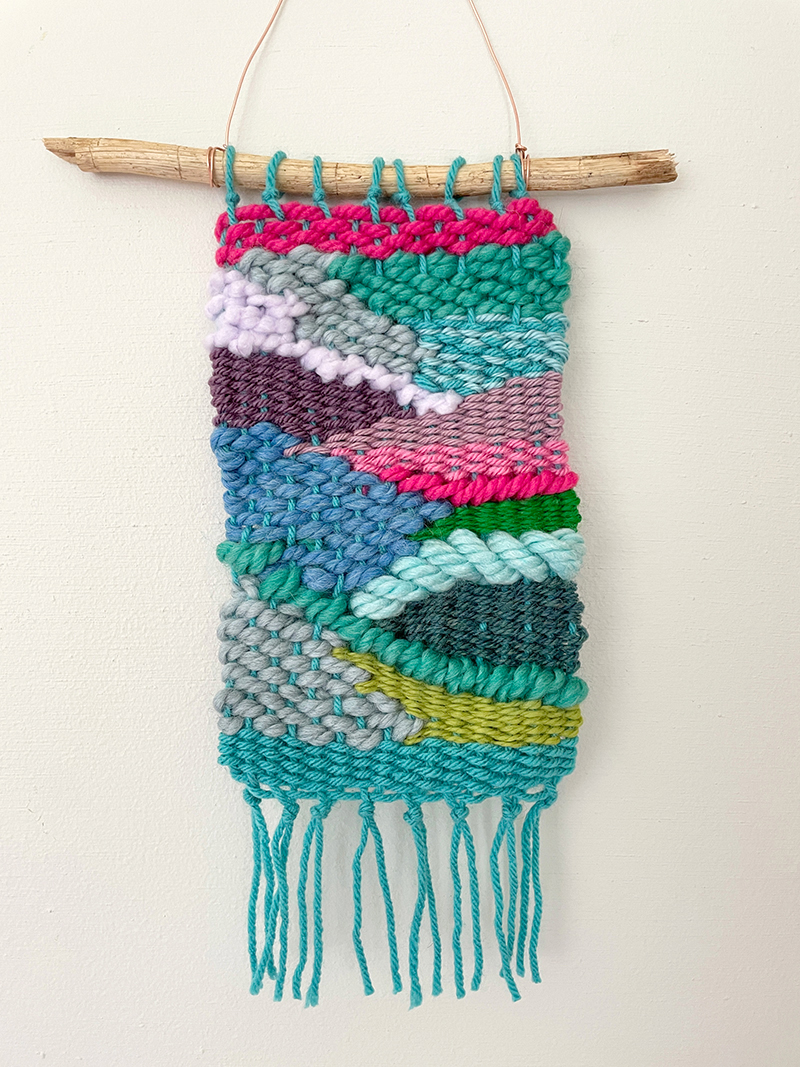
Doodle Weaving with a Cardboard Loom
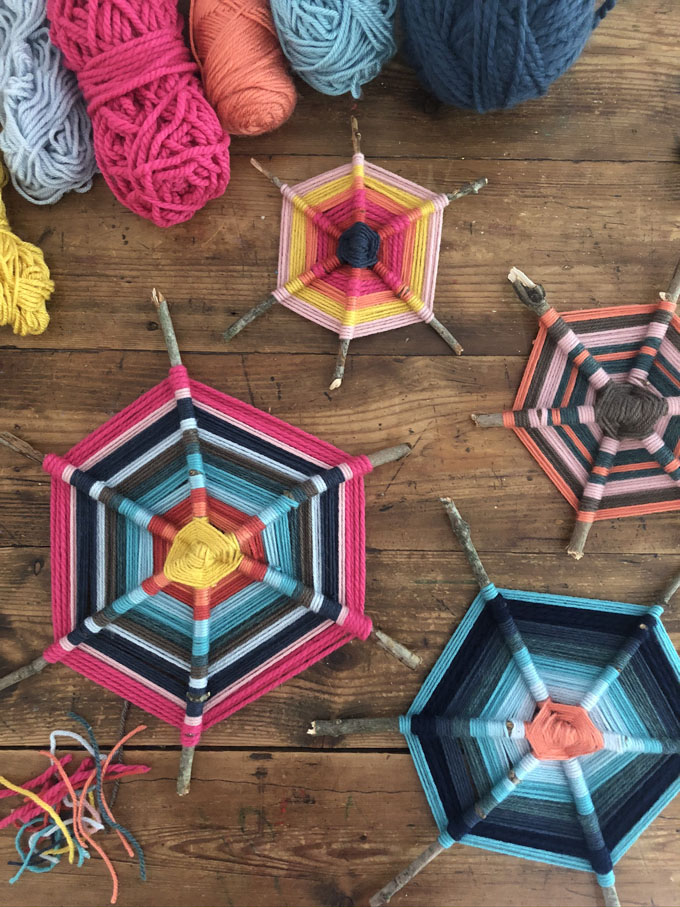
6-Pointed God’s Eye with Sticks
Rainbow Weaving with Koolaid Dyed Yarn


More Stories
What Makes an In-Person Event Irresistible in a Digitally Convenient World? Lessons from Brown Paper Tickets
HOW EVERYDAY KINDNESS SHAPES COMMUNITIES
Chinese Astrology – Personal Date Selection